
Family Thank You Books
The holiday season is fast approaching and it’s the perfect opportunity to share with friends and family the happy memories of the past twelve months and wishes and goals for the new year ahead. It’s also a time to give thanks for love and support from friends and family, or acknowledge all the good happening in your life. What better way to record your family’s gratitude all in one place at your next family dinner in a simple-to-make book.
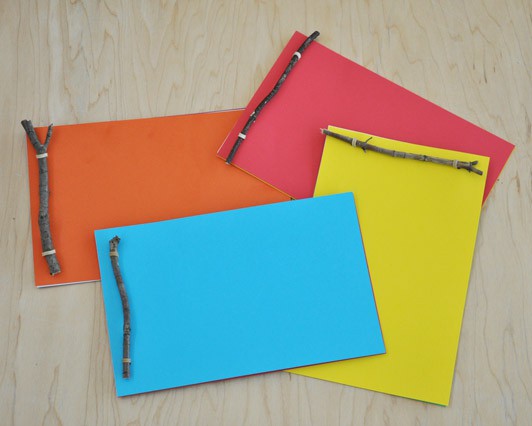
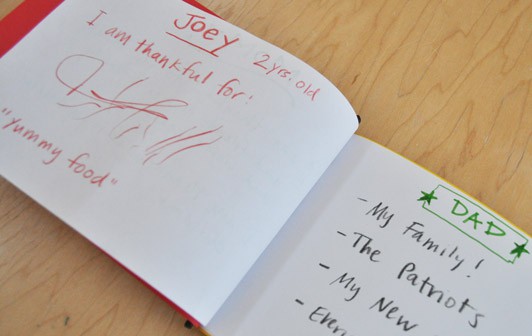
You probably have all the materials you need already on hand:
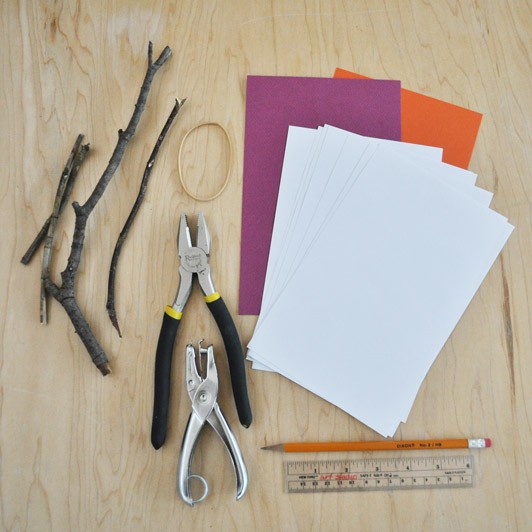
- several sheets of 8.5” x 11” white printer papers cut in half (8.5” x 5.5”)
- 1 or 2 sheets of construction paper (about 9”X 6”, or trim to the same size as copy paper)
- single-hole punch
- a couple twigs collected from outside (or a craft popsicle stick)
- ruler
- a pencil with eraser
- one rubber band
- 2 paper clips
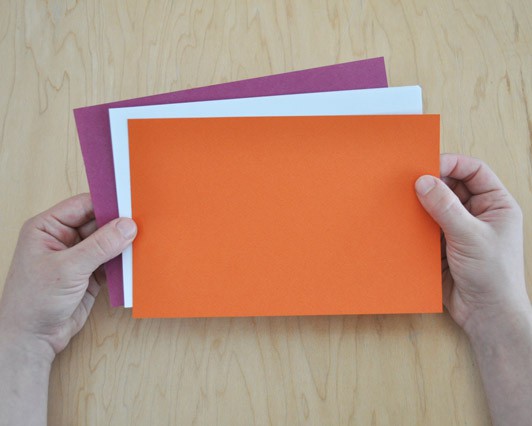
There is no folding to make this book, just sandwich the white copy paper between the two construction paper covers. We used purple and orange, but choose what colors you like best.
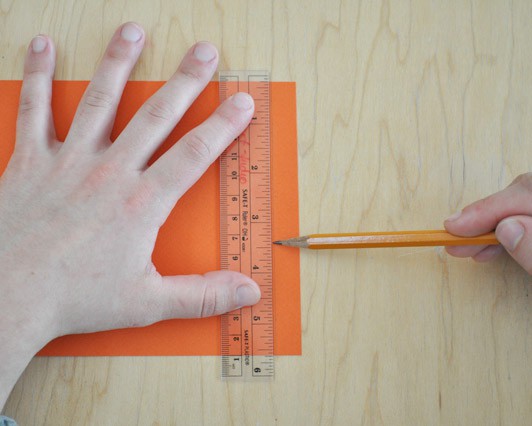
Next, measure 1/2 inch from the edge of just one of your covers on the 5.5” side and draw a line across.
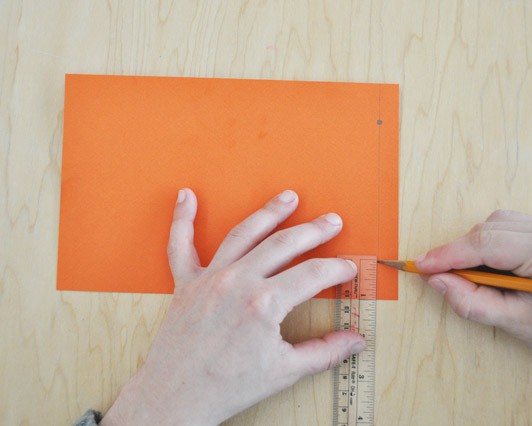
Then measure 1-inch in on each side of your pencil line and make two circles. This will be your punch guide.
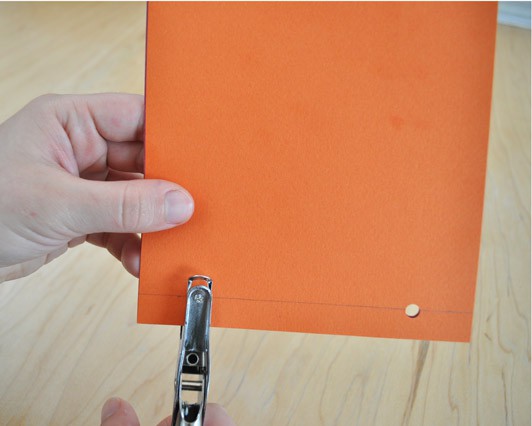
Punch a hole through the two pencil marks you made on your cover.
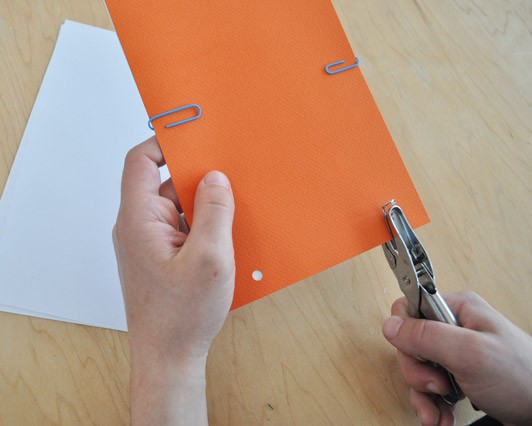
You will use the cover as your template to punch through your other cover and the white papers. Paper clip up to 3 papers at once under your template to hold them in place as you punch. If you punch too many papers at once you may jam your hole punch.
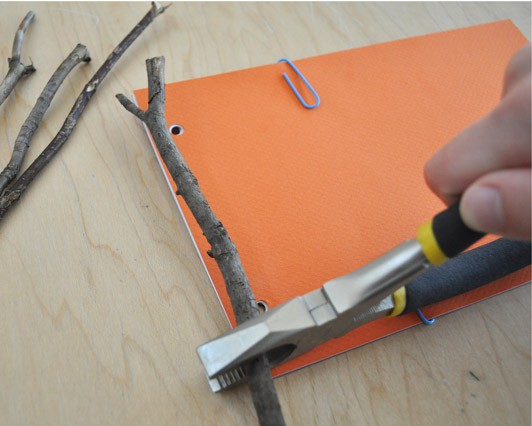
When all of your papers are punched and clipped together sandwiched between your covers, choose a twig and with the help of an adult trim it just longer than the distance between your two holes. You could also use a wooden craft stick.
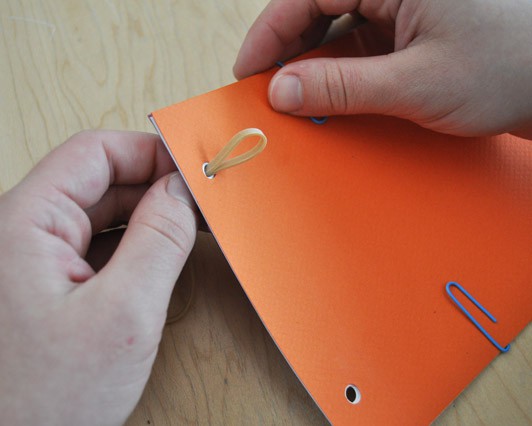
Thread part of your rubber band from the back of your book towards the front.
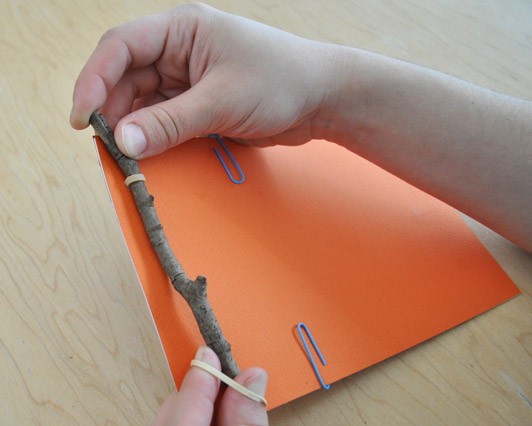
Pull the top of your twig through the rubber band loop and stretch the other end of your rubber band down through the second hole so you can wrap the second loop around the bottom of the twig.
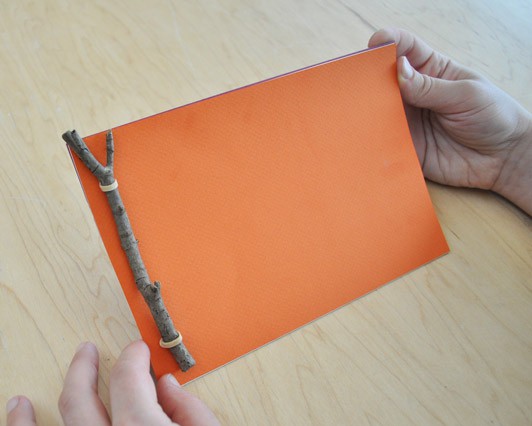
Your book is ready to decorate!
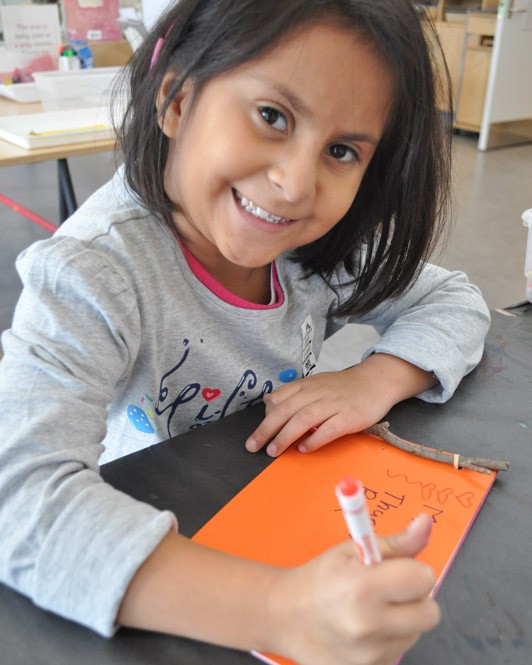
Children can add a titles and words to their book.
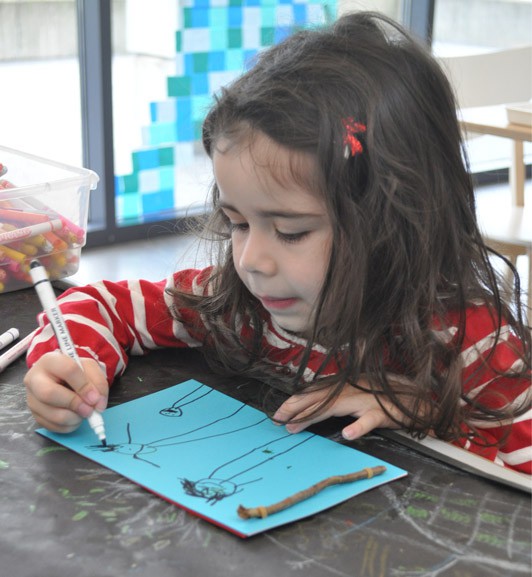
They can also draw pictures of their family.
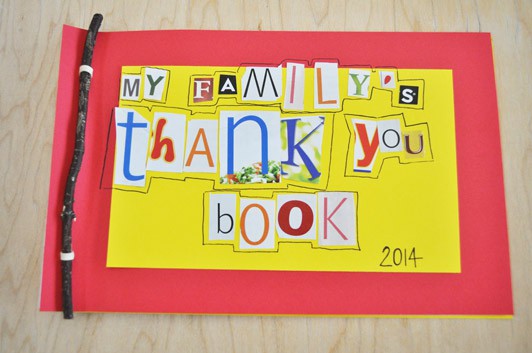
You can also work together as a family to cut out letters from old magazines and collage them on the cover. The “stick and band” book format is also great for nature journaling and sketch books because you can take it apart and replace or add pages very easily. We often make this book format with young children in our outreach programs. For other fun bookmaking activities, click on the “Bookmaking” category.
Everyone here at Making Art Together wishes you and your family a very creative and peaceful holiday :)
Making Art Together is generously sponsored by the Massachusetts Educational Financing Authority

