How to Make Rubbing Plates with Natural Materials
We use rubbing plates all the time here in The Art Studio to add interesting colors and textures to paper. Some molded plastic sets we’ve purchased over the years, but the best rubbing plates we have are the ones we made ourselves! I thought I would share the steps here for one way of making a set of rubbing plates with grass and leaves, but you can use these steps with many other natural materials too.
First, collect pieces of thick chipboard, mat board or corrugated plastic to use as the plate backing. If you are using chipboard or mat board I recommend sealing the surface first with a coat of Acrylic Gesso (available at art supply stores) before cutting them into your desired size. Brush it on at least one side and let it dry completely (about 30 minutes). Gesso isn’t absolutely necessary, but may help add life to your rubbing plates if you want them to last longer than a few uses.
While the gesso dries, collect natural materials outside like leaves, grass, seeds, twigs or bark or purchase beans, grains, seeds or other materials from the store. Experiment with different materials and see what you like best!
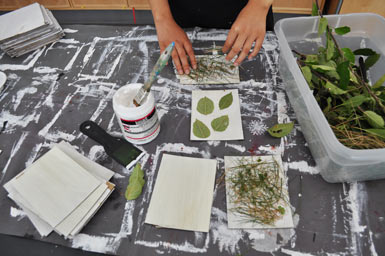
Next, cut down the boards to the desired sizes, ours are in 5-inch or 6-inch rectangles or squares. Spread an even layer of Light Modeling Paste (available at art supply stores) with a thick brush or plastic spatula across the top of the gessoed side of the board. Above, we are pressing the natural materials into the paste so they aren’t peeling away or lifting up. The paste has a consistency like thick cake frosting.
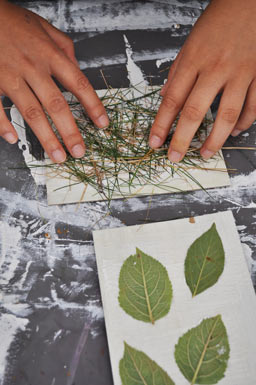
The paste acts as an adhesive as it dries. I recommend attaching leaves with the raised side facing UP so you will get the best rubbing once it’s dry. Set the plates aside overnight to dry completely.
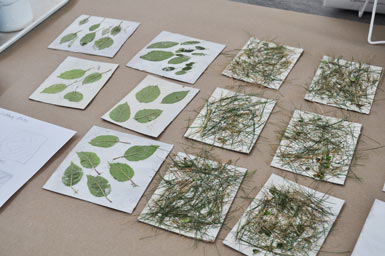
The next day, trim any excess material hanging off the edge of the plate (grass, string, etc) and make sure the surface is thoroughly dry before sealing them. To seal the plate I used Minwax Water-Based Polycrylic Gloss (available in the paint department at the hardware store) and brushed an even coat over the top and sides of each plate, right over the leaves, grass, or whatever other texture you have on your boards. You could also use a small paint roller instead of a brush. We left ours to dry outside in the sun to speed up the drying process. Brush on one or two coats, drying thoroughly between coats. Two coats usually does the trick to make everything stick down for good.
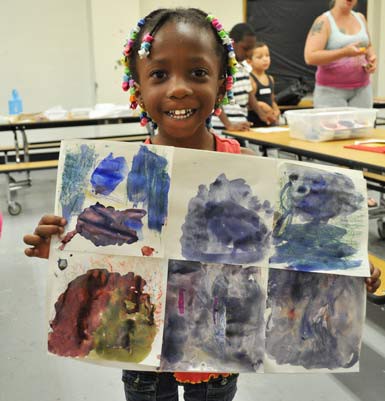
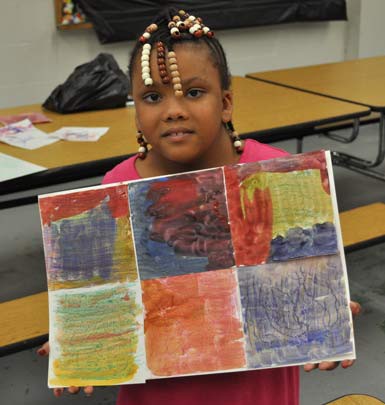
Here are some more texture plates I made for a workshop I did recently with children in Springfield, MA.
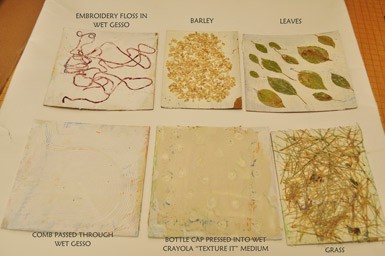
Families used the rubbing plates to create texture squares to paint with watercolors and then combine into paper quilts.
If you’re looking for other ways to create textured surfaces, check out my Printing with Found Materials 2 post.
How do you use rubbing plates in your classroom or at home?

