Rolled Paper Relief with Susan Schwake
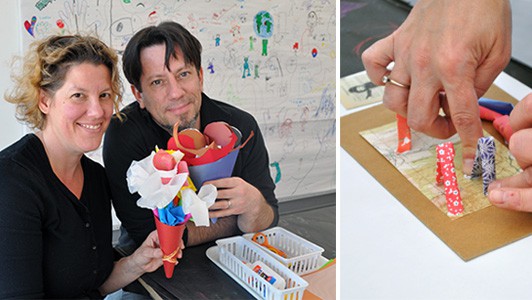
Last month, Artist and Author Susan Schwake returned to The Carle’s Art Studio to share a project from her latest book 3-D Art Lab for Kids.
Guests of all ages had fun turning beautifully patterned papers into rolled paper relief sculptures.
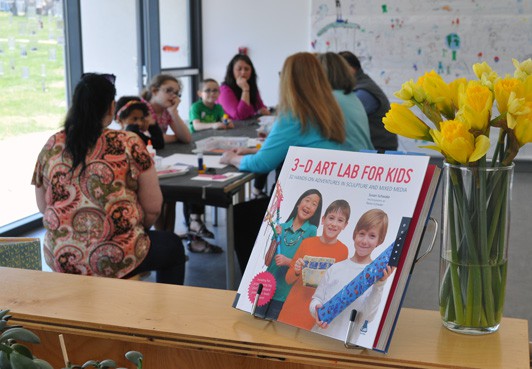
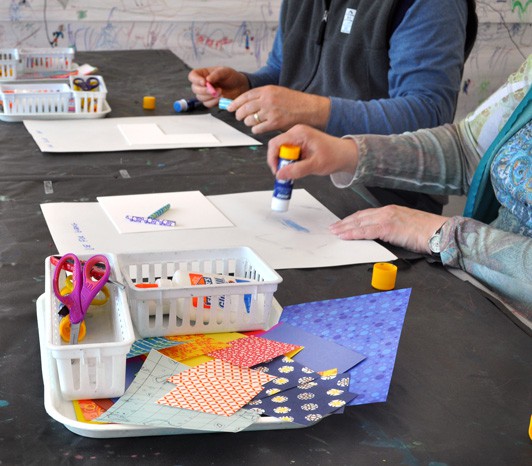
To try this at home, gather: squares of decorative or colorful paper (origami paper works well!), a glue stick, Elmer’s or other clear-drying glue, and a piece of mat board or cardboard (cut a panel off a cereal box!).
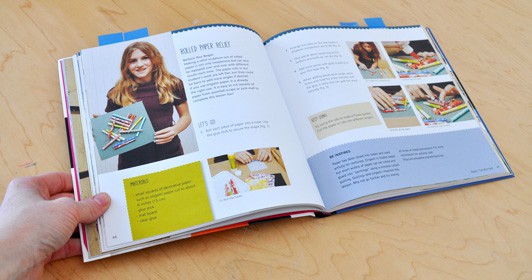
Start by choosing a piece of paper and drawing an “x” on the back with a glue stick. Then, roll the paper into a tube, adding a little more glue to the end of the paper to secure the shape.
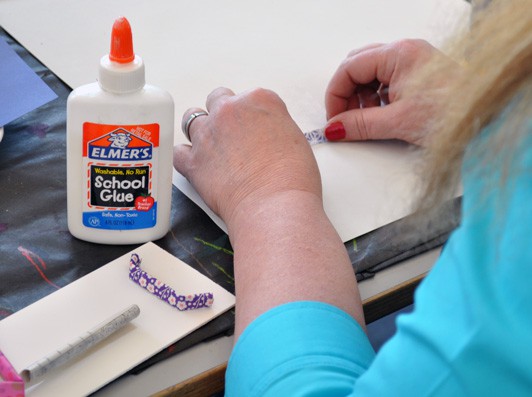
For kids who had a tough time getting the paper roll started, Susan showed one of her tricks: fold in the first ¼” to ½” of one edge the paper and use that as the starting place for the roll.
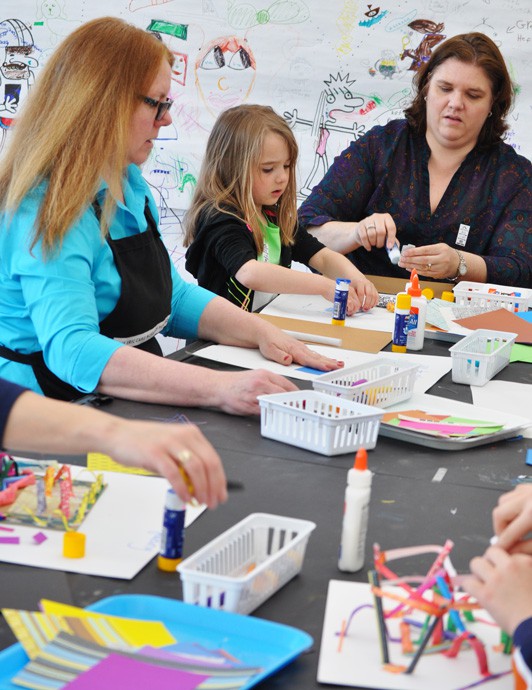
After making a small pile of paper rolls, begin arranging them on the matboard or cardboard backing in whichever way you chose. Then, use white glue to secure the paper rolls.
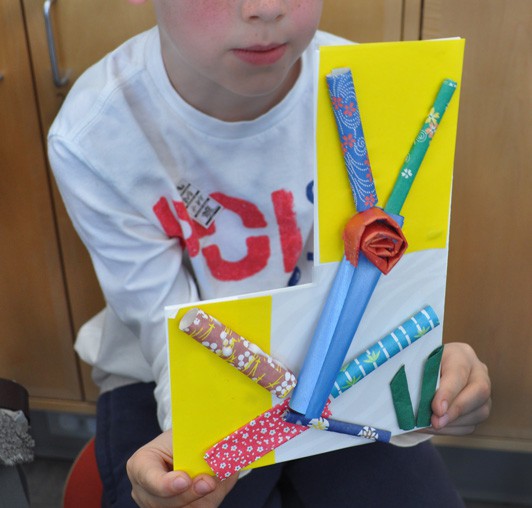
Some of our guests experimented with bending and rolling their tubes, others just took the invitation to create in 3-D with paper and ran with it.
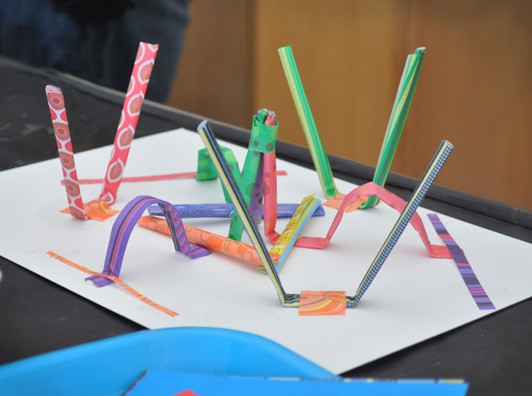
The young artist (about 13 years old) who made the sculpture below worked silently and steadily for almost an hour. This isn’t even his finished product!
If you like this invitation to create, check out a previous Susan Schwake visit to The Carle: Monster Mash Up.
Making Art with Children is generously sponsored by the Massachusetts Educational Financing Authority.

