
Weave, Fold, Thread, Tie!
This week, we explored ways to attach materials together without using adhesives. We experimented with weaving, folding, threading, and tying to create our art. Working without glue or tape can sometimes take a bit more problem-solving and time, but it can also lead to creative solutions, as well as interesting patterns, shapes, and textures. Check out all the different ways the Art Studio team responded to this idea!
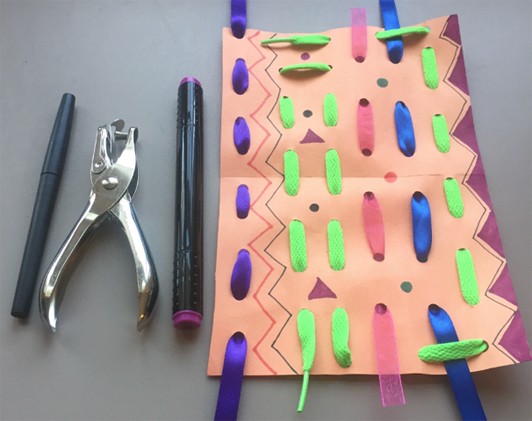
As Megan looked through her art materials, a bright green shoelace caught her eye, and she wondered if she could make holes for lacing. She tried hole-punching construction paper, but realized the hole-puncher only reached areas near the edge of paper. Megan problem-solved by folding and punching along the fold. When she opened the paper, she had holes in the middle! She then selected ribbons and laces, choosing colors that she liked together, and wove them in straight lines. Megan thought about how she could use other materials like yarn, and weave in different patterns like zig zags. After she was done lacing, Megan used markers to draw shapes and lines on her paper for more detail and color.
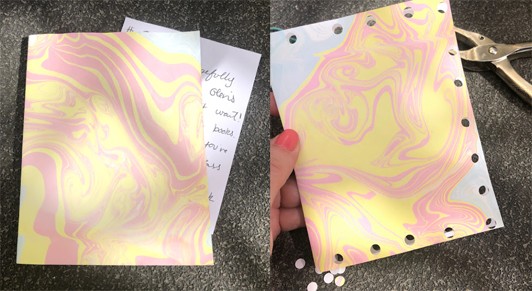
Siobhán wanted to send a note to a friend, and was curious to see if she could create an envelope without using glue or tape. She started off by folding a piece of marbled paper she had made in half to make the envelope and placing the note inside. Siobhán then punched holes around the outer edges of the envelope.
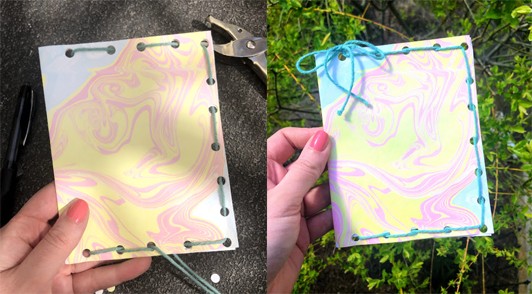
She wove some leftover yarn through the holes, first one way and then back the other way to make sure the envelope stayed closed. Siobhán then tied a bow at the end so her friend can open the envelope by untying the bow, and pulling out the yarn. She realized that her envelope was reusable! Her friend could re-tie the envelope and send it back to her or to another friend.
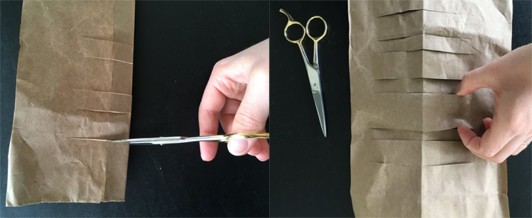
Sara was also interested in using yarn to connect her artwork. For the base of her artwork, she used part of a brown paper bag. Sara folded her paper in half, and then cut lines into the folded edge, being careful not to cut all the way to the opposite edge. When she unfolded the paper, her cuts had created a series of openings in the middle, perfect for weaving!
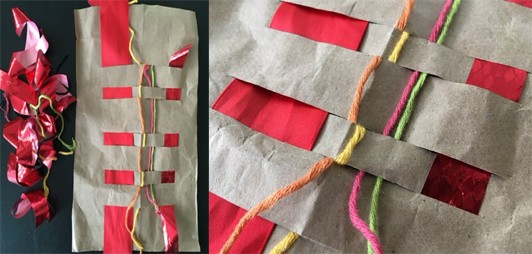
Sara wove yarn and ribbon through the openings in the paper, going over and under each section.
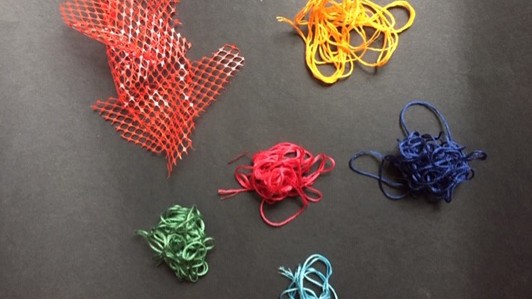
Meg wondered how she could use her leftover embroidery thread. She found plastic mesh from a fruit bag and decided to use it as a base for weaving.
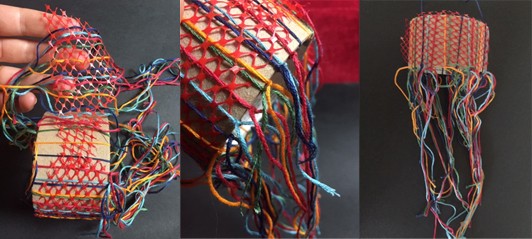
As she started weaving the thread through the holes in the mesh, she liked how the loose threads looked, but noticed that they were easily pulled out of the mesh. Meg wondered how she could secure the thread so that part of it stayed woven in the mesh. She found a cardboard tape roll and tied her weaving to it. The loose threads hanging down reminded Meg of the tentacles of a jelly fish!
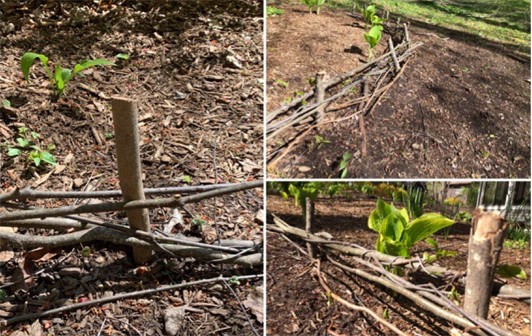
This week, Hannah wanted to make a small woven fence for her mother’s garden. She started by gathering thin, sturdy sticks, she broke them to the height she wanted her fence to be, and stuck them into the ground about three feet apart.
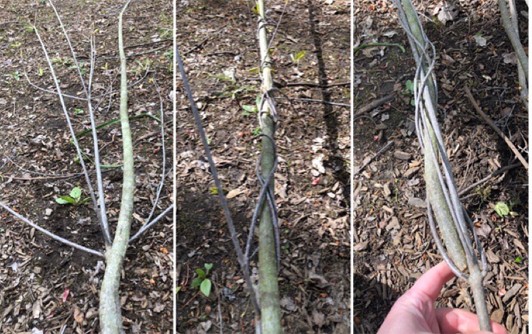
Next, she collected flexible branches and vines, twisting and braiding them together to make a long rope to weave between the sticks. Hannah made lots of discoveries as she experimented with weaving her rope. She found that tying knots in branches made them break, while twisting smaller branches together was more successful. She was surprised to discover that often she didn’t even need to tie the branches, the tension of her weaving held them together. Hannah was pleased with how organic the fence looked because of all the different attaching styles she used.
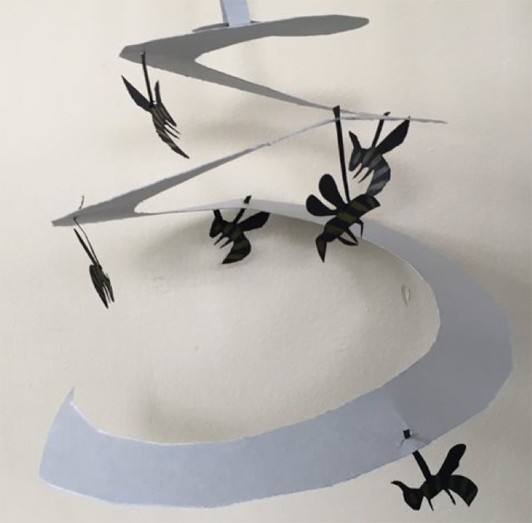
Inspired by active pollinators outside her home, Sara wanted to make a sculpture that looked like hornets flying around their nest. She decided to problem-solve around how to make a paper sculpture without adhesives.
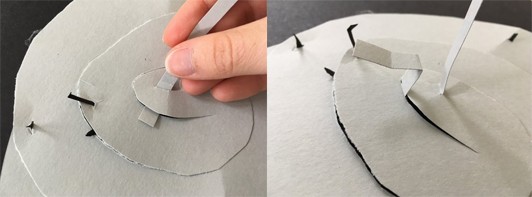
Sara remembered making spirals in her pop-up explorations and decided to make a large grey spiral base. She made a hook by folding a thin piece of paper and threaded it through the top of her spiral.
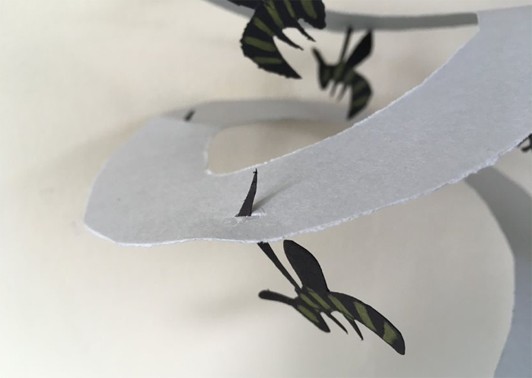
Sara created the hornets by cutting them out of paper, careful to cut out a long piece for the hook that attached it to the spiral. She threaded the long piece of paper through cuts she made in the spiral, folding it at the top to make a hook. Now the hornets look like they are buzzing around their nest.
For more project ideas without using glue, check out our other blog posts about cardboard sculptures, stick-and-band books, and books with surprises.

